Capturing movement in images is something that many photographers only think to do when they are photographing sports or other fast moving subjects.
While there is an obvious opportunity in sports photography to emphasize the movement of participants – almost every type of photography can benefit from the emphasis of movement in a shot – even when the movement is very small, slow and/or subtle.
Read more: http://www.digital-photography-school.com/how-to-capture-motion-blur-in-photography#ixzz180T82VXg
There are a ways to achieve this:
1. Blurred Subject With Background In Focus
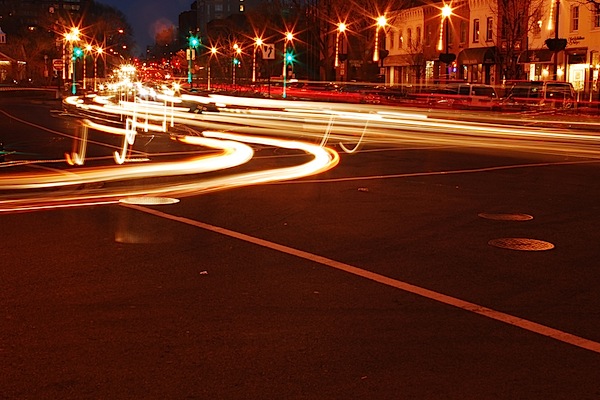
photo by paulaloe
Let’s assume you’re photographing a speeding train against a wall of trees in the background. You can blur the train while leaving the trees in focus. Doing so would instantly communicate to the viewer that the train is moving quickly. To accomplish this, you would use a slow shutter speed. (It’s also important to use a tripod. That way, your camera remains steady.) You’ll often see this technique used in nighttime photographs with car headlights cutting through the image.

Image by Extra Medium
2. Blurred Background With Subject In Focus
This second technique keeps your photograph’s subject in sharp focus while the background is blurred. Using our train example, the train would be in focus and the wall of trees would be blurred, thereby conveying the train’s movement. Similar to the first method, you need to use a slow shutter speed. However, instead of using a tripod, you’ll be panning your camera along the directional path of your subject.
Panning Explained
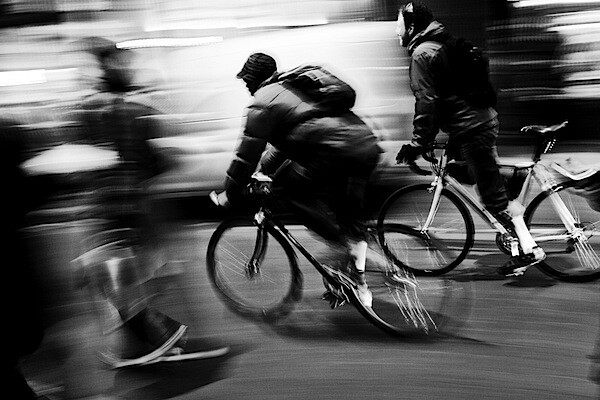
Some more examples:
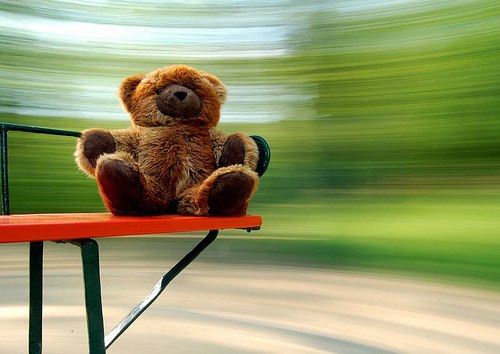 Photo by Mr Bones - No exposure settings supplied
Today, as a followup to our post earlier in the week A Beginners Guide to Capturing Motion in Your Photography I want to post a series of posts from Flickr that all illustrate a variation on the same theme – movement.
The following shots are all of moving subjects where the photographer has made the choice to set their camera to capture the movement as blur rather than freezing it. This is in all cases by choosing (or letting the camera choose) a ’slow’ shutter speed (although by slow you’ll see that the speeds (noted under each image) vary from anything from 1/30 second to up to 40 minutes).
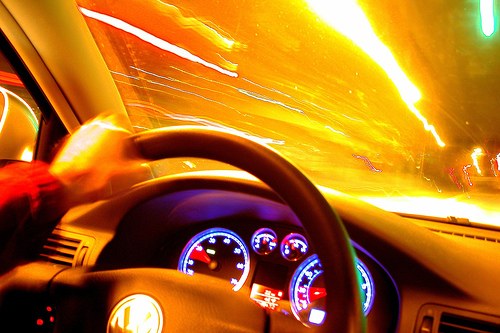 Photo by Ben McLeod – Shutter Speed – 8 seconds
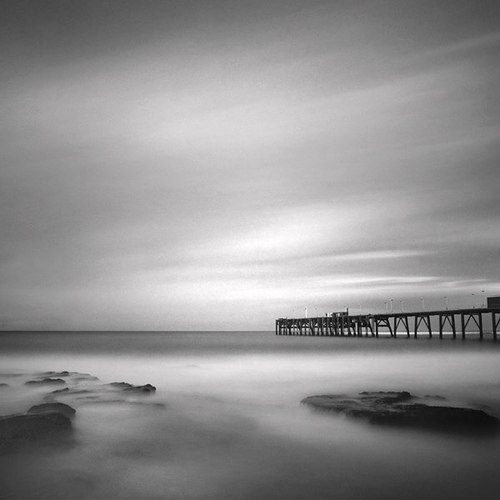 Photo by zane&inzane - Exposure Time – 10 minutes
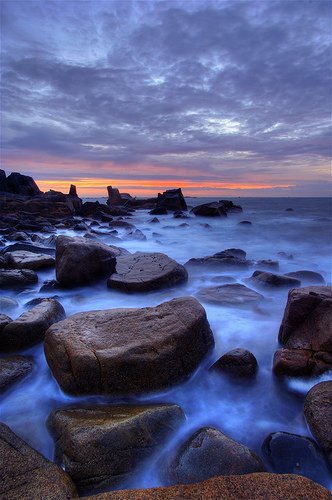 Photo by PhotoToasty – Composition of 3 images at shutter speeds of between 1.6 seconds and 25 seconds
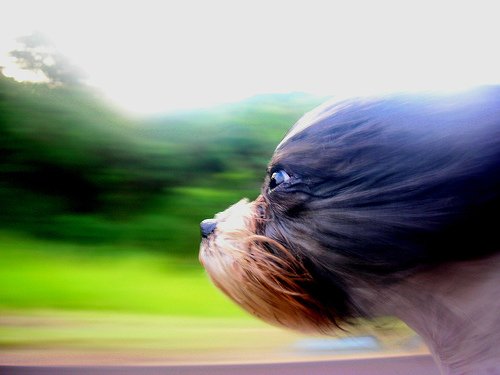 Photo by Amnemona – No exposure settings given
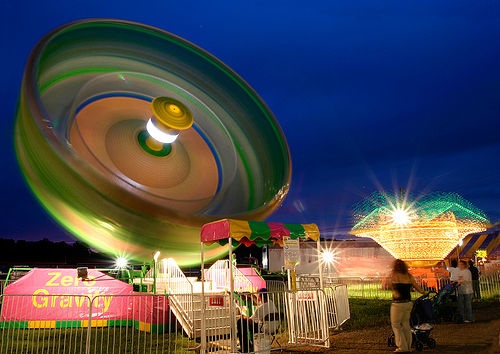 Photo by Sara Heinrichs – Exposure Time: 20 seconds
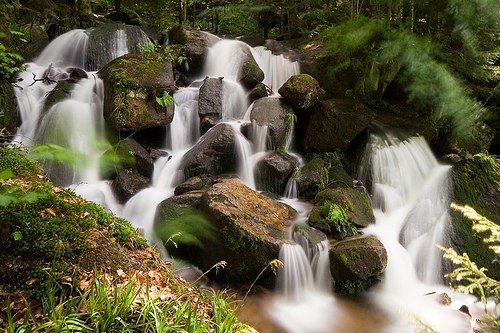 Photo by Mace2000 – 50 second exposure time
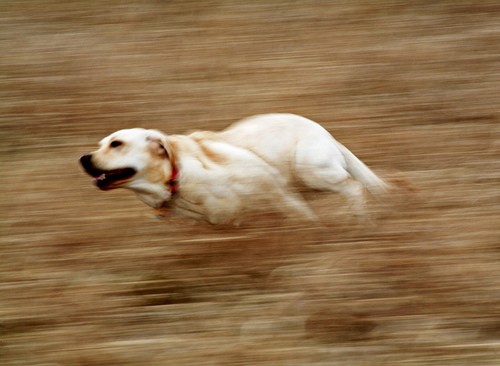 Photo by WisDoc – Shutter Speed – 1/30
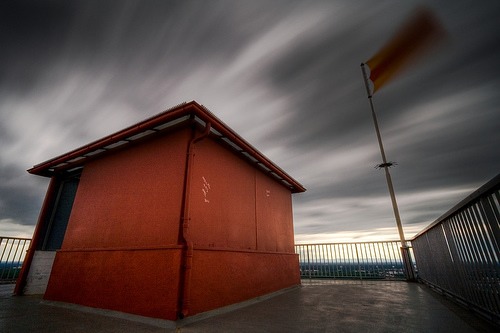 Photo by Mace2000 – Shutter Speed – 50 seconds
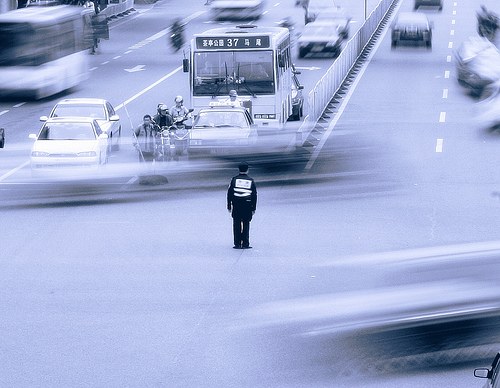 Photo by Wam Mosely – Shutter speed – 4/5 of a second
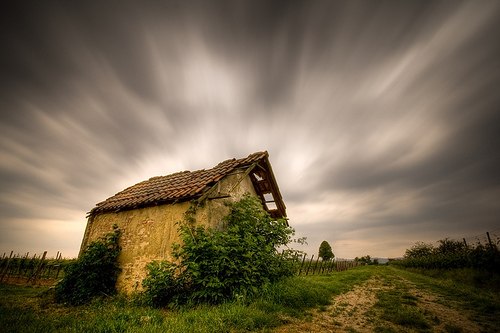 Photo by Mace2000 – Exposure Time – 43 seconds
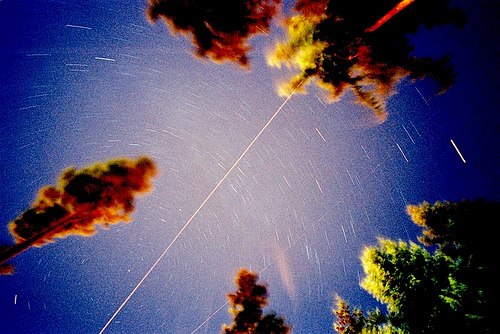 Photo by jon madison – Exposure – photographer estimates somewhere between 30-40 minutes
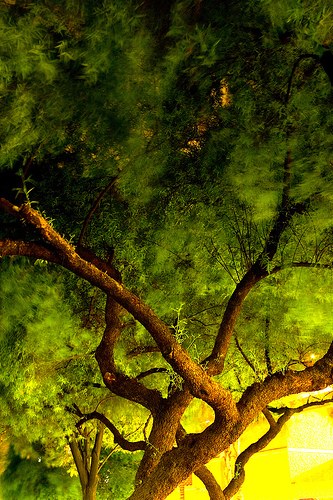 Photo by thorinside – Shutter Speed – 13 seconds
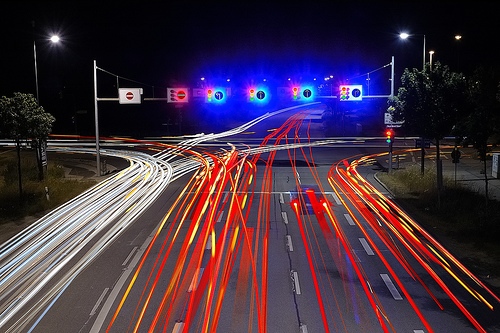 Photo by tschnitzlein – No Exposure information given
Read more: http://www.digital-photography-school.com/blur-movement#ixzz180U3GIzf
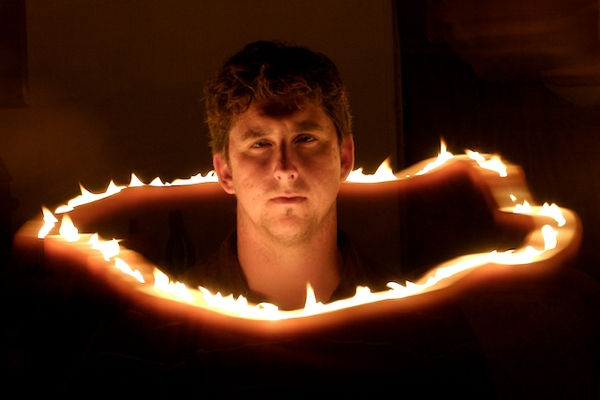
Digital Photography School Forum member Sodaman420 couldn’t have done a better job introducing the technique of Light Painting. His video is posted here. Light is what makes up your photos. Perhaps too often we limit ourselves to the normal diffused lighting we are used to seeing. Locking your camera down on a tripod and setting it for a slow shutter speed allows you to manually get some movement on the lights in your scene. Experiment with flashlights, rope lights, candles or anything handy. In the picture here I had a friend sit perfectly still in a completely dark room. I set the shutter to be roughly the time it would take me to walk around his chair holding a candle (8 seconds). His face was entirely lit by candlelight. Since I was moving too quickly to get in the shot, all you see is the floating flame. I know, it turned out a little demonic, but unintentionally. This is just to get your ideas flowing.
Read more here:http://www.photographymad.com/blog/post/painting-with-light
The last technique is turning darkness into day, with this the shutter speed is so slow that it makes a night scene look as if the sun is out...
| Programmed Auto Mode - Underexposed |
 |
| Fujifilm FinePix E550 7.2mm, Programmed Auto, Pattern Shutter Speed 1/4 sec., Aperture F2.8, ISO 80 |
In the above example, the camera uses the slowest shutter speed and largest aperture available in P mode and at the widest focal length. The picture is underexposed.
| Manual Mode - Overexposed |
 |
| Fujifilm FinePix E550 7.2mm, Manual, Pattern Shutter Speed 3 sec., Aperture F2.8, ISO 80 |
Switching to Manual mode allows me to access the slowest shutter speed available on this camera, 3 sec. while keeping the aperture at F2.8 (the largest aperture available). The effect is immediately better, but it does seem a bit too bright, giving almost a daylight effect. If this is the effect you're after, then you're done. But if you wanted to capture the night mood, read on.
Now it is just a matter of adjusting the shutter speed and/or aperture to obtain the desired exposure. I choose to close down the aperture so as to increase the depth of field also.
| Manual Mode - Correct Exposure |
 |
| Fujifilm FinePix E550 7.2mm, Manual, Pattern Shutter Speed 3 sec., Aperture F4.0, ISO 80 |
Closing down the aperture to F4.0, a more pleasant image is obtained with enough dark areas to indicate it is night time (dusk, really) and enough lighted areas to reproduce what my eyes saw at the outdoors skating rink at the Mississauga Civic Center.
1 comment:
nice blog.check mine
http://damahum-izuaf.blogspot.com
Post a Comment